



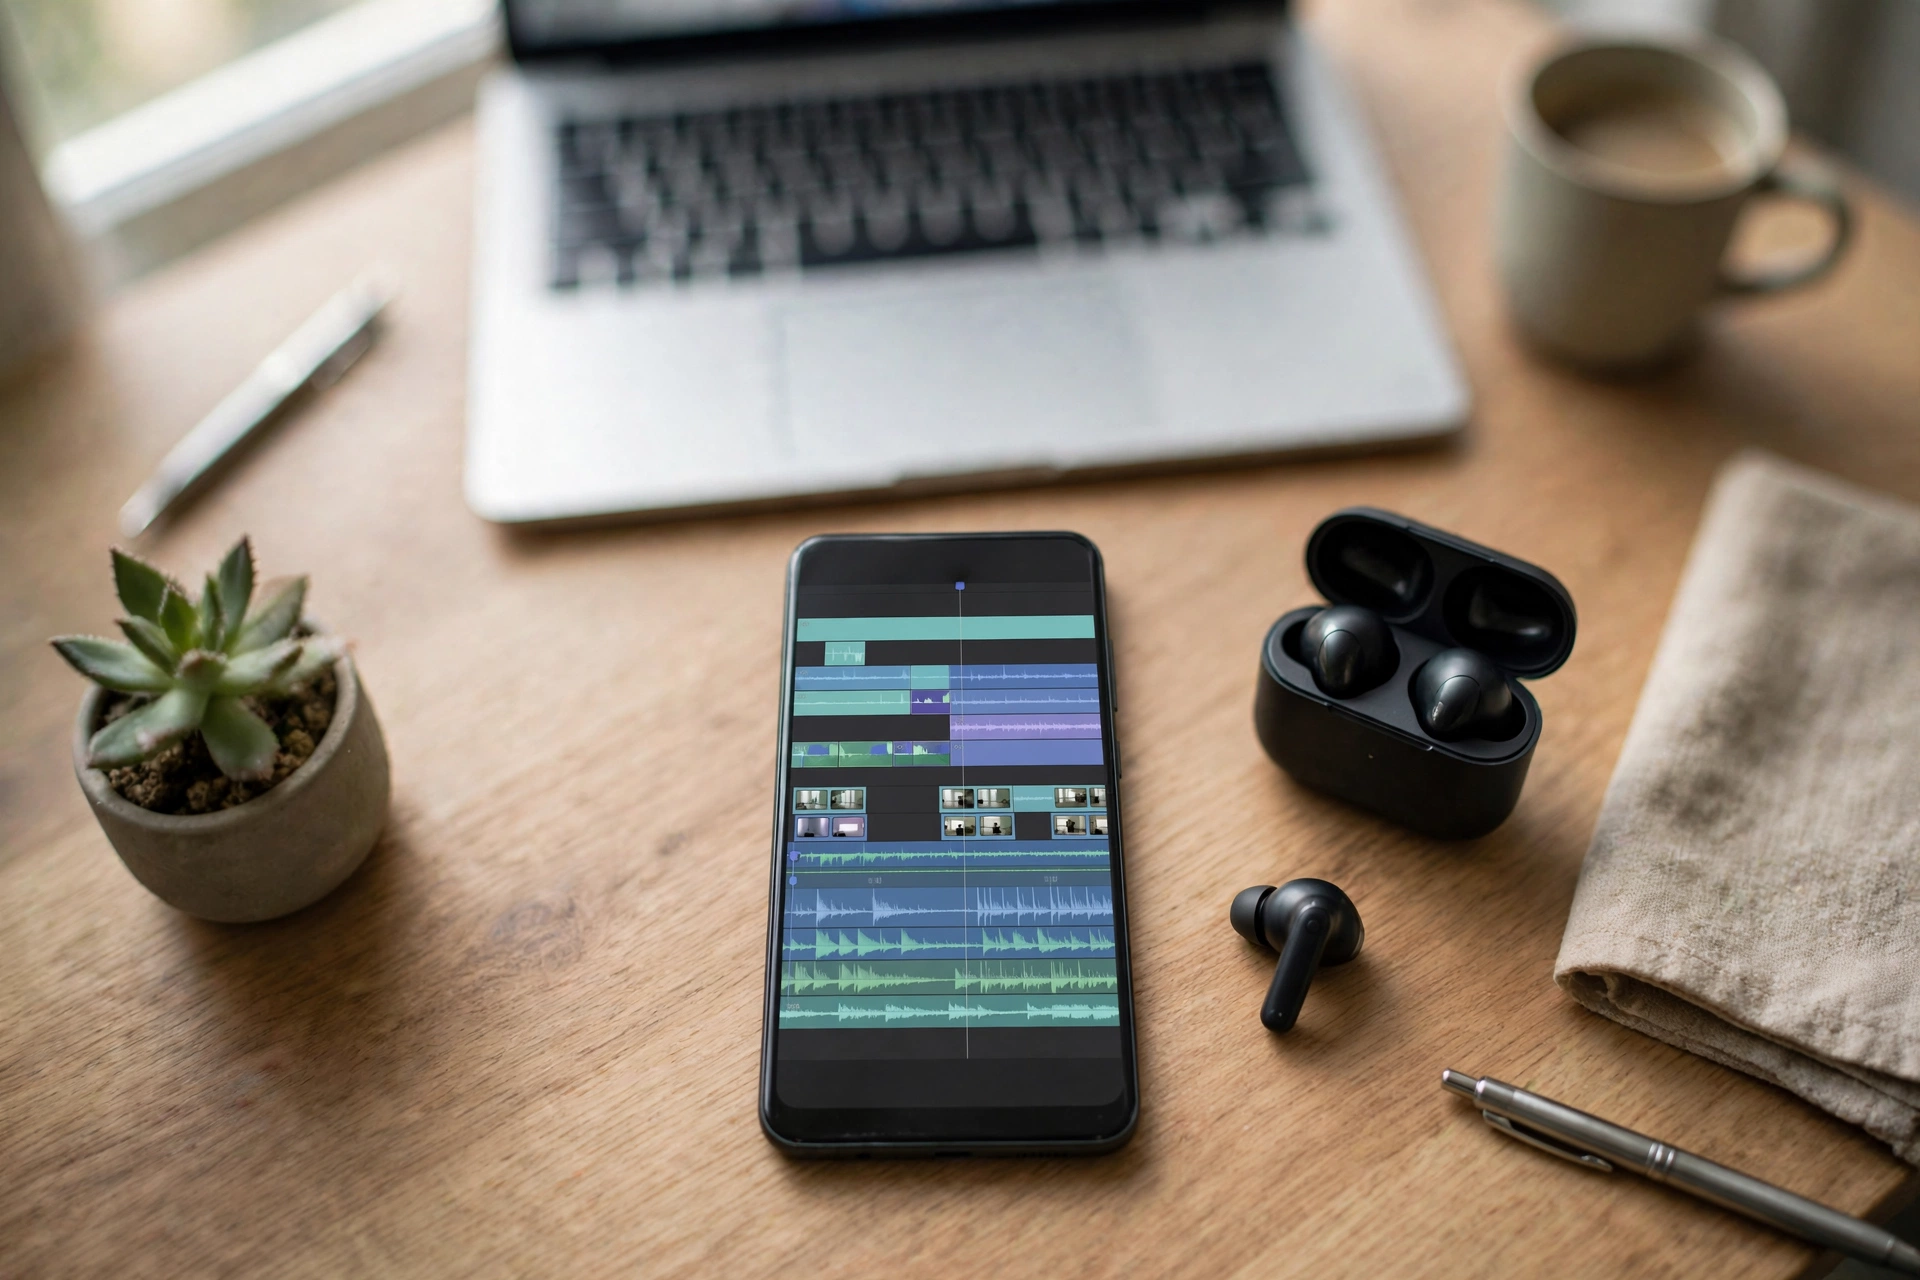
Introduction: Start Creating Videos With the Phone You Already Own
Making an interesting video no longer requires a computer, expensive software, or years of editing experience. With a suitable Android application, you can turn everyday recordings into travel diaries, gaming highlights, educational clips, product presentations, and entertaining social media posts right from your phone.
The challenge is choosing an editor that matches your needs without forcing you to learn dozens of unfamiliar controls. Some applications focus on quick results, while others provide detailed timelines and creative tools for people who want to develop their skills over time.
For beginners, VN Video Editor, YouCut, and CapCut are three useful starting points, each serving a different purpose. VN suits people who want more control over their footage, YouCut is convenient for uncomplicated projects, and CapCut offers a range of creative options for short-form content. Other apps on this list may be more appropriate if your main interest is graphic design, layered editing, or automatic video creation.
This article explores ten Android video editors through the practical needs of a new creator. Instead of focusing only on the number of effects available, it considers what you can create with each app, how the editing process works, and what limitations you should understand before choosing one.
1. VN Video Editor: Best for Learning Real Editing Skills
VN Video Editor is a sensible choice for someone who wants to understand how videos are assembled rather than simply apply a template and press export. Its timeline allows you to arrange footage, shorten recordings, control scene timing, and place audio or text alongside your main video. These functions provide a useful foundation for creating content that feels organized and intentional.
Consider a beginner recording a day out with friends. The original footage might contain several unrelated moments, background noise, and long pauses between activities. Using VN, the creator can select the most interesting scenes, place them in a logical order, add a suitable soundtrack, and finish with a short closing shot. The finished video becomes a story instead of a collection of random recordings.
As your experience improves, you can explore more detailed controls, including layered media, keyframe animation, and changes in playback speed. These options allow you to experiment with motion and timing while gradually developing a more personal editing style.
VN is particularly appealing to creators who want substantial editing control without immediately paying for professional software. Its free features and export conditions should still be checked in the current version, especially if you need a specific resolution or want to avoid an automatically added ending.
A good choice if: You want one application that can support simple edits today and more ambitious projects as your skills develop.
2. YouCut: Best for Everyday Video Projects
Not every recording needs a complicated editing process. Sometimes you simply want to remove a few mistakes, combine several clips, add background music, and share the result. YouCut is designed around this type of straightforward workflow, making it worth considering for beginners who prefer practical tools over an elaborate interface.
The application can be useful for family recordings, cooking demonstrations, short educational videos, and personal highlights. You can remove unnecessary sections, change the order of clips, adjust playback speed, and prepare the finished video for sharing. These basic changes can make a noticeable difference without requiring advanced editing knowledge.
Imagine recording a recipe on your phone. Instead of showing every pause between steps, you can shorten the footage so viewers see the important actions in sequence. Add brief labels for the ingredients, keep the original instructions audible, and the result becomes easier to understand.
YouCut is also worth investigating if a watermark-free export matters to you. However, free features, advertisements, and premium options may vary with app updates, so check the current export settings before finishing an important project.
A good choice if: You want to edit ordinary recordings quickly and do not need a large collection of advanced effects.
3. CapCut: Best for Trend-Based and Short-Form Videos
CapCut is suited to creators who enjoy making videos that combine fast cuts, music, text, and visual effects. Its creative tools can help beginners produce short clips for social media without manually building every animation from the beginning. Templates can provide a starting structure, while manual editing gives you greater control over the final result.
One useful application is turning a longer recording into a short highlight. You might select the most interesting moments, synchronize some cuts with the music, add a title, and include captions that explain what is happening. The aim is to communicate the main idea before viewers lose interest.
CapCut may also offer features such as automatic captioning, background removal, and AI-assisted tools, depending on the version, region, and subscription. These functions can reduce repetitive work, although automated results should always be reviewed for mistakes.
The biggest consideration is that a large feature collection does not mean everything is free. Certain effects, templates, and advanced tools may require payment. Check which elements are marked as premium and inspect the finished timeline before exporting, particularly if the project includes a branded ending.
A good choice if: You enjoy experimenting with captions, effects, music-driven edits, and vertical videos for social platforms.
4. InShot: Best for Quick Social Media Edits
InShot is useful when your priority is making a presentable video without spending too much time navigating complicated menus. Its familiar editing functions include trimming, arranging clips, adding music, inserting text, and applying visual adjustments. This makes it suitable for people who want to create content directly from their phone.
The app is particularly convenient when the video must fit a particular screen format. For example, you may have recorded a horizontal clip but want to prepare a vertical version for a social media feed. Changing the canvas and adjusting the framing can help the footage fit the intended layout.
InShot also works well for simple promotional content. A small business could combine a few product shots, display the product name, add a short explanation, and finish with a closing message. Someone making personal content could use the same approach for holiday highlights or a birthday montage.
However, some features and export options may be restricted to paid users, and the free version may include advertising or a watermark. These conditions can change, so confirm the current terms if you need a clean video for professional publication.
A good choice if: You want to create attractive social media videos with a relatively short learning process.
5. Canva: Best for Videos With Text and Graphics
Canva approaches video creation from a design perspective. Rather than concentrating exclusively on cutting footage, it helps users combine recordings with layouts, illustrations, titles, and other visual elements. This makes it especially useful for projects where presenting information clearly is just as important as the video itself.
A teacher might use Canva to prepare a short lesson with section headings and supporting images. A shop owner could create a promotional clip featuring product photographs, prices, and a logo. Beginners can start with a suitable template and replace its sample content instead of designing every element from scratch.
Another advantage is the ability to maintain a consistent appearance across different videos. Reusing similar fonts, colors, and title styles can make a series of educational or business videos feel connected. This is particularly useful for people who publish content regularly and want viewers to recognize their visual style.
Canva is not the first choice for every editing task. Projects that require detailed control over numerous video tracks or precise scene-by-scene adjustments may be easier in a dedicated timeline editor. Some templates and design assets also require a paid plan.
A good choice if: Your videos rely on clear explanations, attractive titles, graphics, and ready-made layouts.
6. KineMaster: Best for Combining Different Media Elements
KineMaster is worth exploring when a project requires more than one video track or a simple sequence of clips. Its layer-based workflow allows users to combine different media elements and control how they appear in relation to one another. This provides additional flexibility for tutorials, commentary videos, and demonstrations.
Suppose you want to explain how to use a mobile application. You could show a screen recording, add a voice-over describing the steps, and place short labels over important buttons. Instead of creating separate videos for each element, you can organize them within a single project.
This approach also introduces beginners to a valuable editing concept: each element can have its own timing and position. Learning to manage these relationships helps you understand why some edits feel smooth while others appear confusing or poorly synchronized.
KineMaster offers more control than many basic editors, but it may take longer to learn. Its free version may also include a watermark or restrictions on particular features. Before choosing it as your primary editor, consider whether you actually need layered editing or would be more comfortable with a simpler application.
A good choice if: You want to combine footage, voice recordings, text, and other elements in one carefully arranged video.
7. PowerDirector: Best for Experimenting With Visual Effects
PowerDirector is suitable for beginners who enjoy exploring how editing changes the appearance and pace of a video. Depending on the available version, its tools may include transitions, titles, speed adjustments, color controls, and a variety of visual effects.
These options can be useful when your footage needs a little more structure. A travel montage, for instance, might alternate between wide landscape shots and close-up details. Adding short location titles and choosing a consistent pace can help viewers understand where they are and why each scene matters.
PowerDirector can also encourage experimentation. You can compare different transitions, slow down a particular moment, or adjust the appearance of a recording that looks too dark. The important skill is learning when an effect improves the video and when it merely adds distraction.
Because the application offers a broad collection of tools, some beginners may find it more complicated than necessary for simple tasks. Certain features and creative assets may also be available only through paid plans.
A good choice if: You want to experiment with more elaborate edits and gradually explore additional creative controls.
8. Filmora: Best for Stylish Videos With Less Manual Work
Filmora’s mobile editor combines basic editing functions with creative effects and preset styles. This can help beginners who have a clear idea of the mood they want but are not yet comfortable designing every transition or visual element themselves.
For example, you could assemble several clips from a weekend trip, add a title, select a suitable visual treatment, and use background music to connect the scenes. A similar workflow can work for a personal announcement, a product introduction, or a short montage of memorable moments.
Presets can save time, but they are most effective when used selectively. Applying a different effect to every scene may make a video feel inconsistent. Choosing a few complementary elements usually creates a more coherent result and keeps the viewer’s attention on the subject.
Filmora may restrict certain effects, templates, or advanced features to paying users. Watermark policies and export limits should also be checked in the current version. If your main goal is a completely free workflow, test a short project before editing a longer video.
A good choice if: You like preset styles and want to create visually distinctive clips without adjusting every detail manually.
9. Google Photos: Best for Improving Existing Recordings
Google Photos is a convenient option when you do not need a complete video editing studio. Depending on your device and app version, it can provide basic functions such as trimming footage, cropping the frame, stabilizing certain recordings, and making simple visual adjustments.
Its main advantage is that you may already have the application on your phone. If you only want to remove the beginning of a recording or keep a particular moment from a longer clip, you can often complete the task without installing another editor.
For example, a student recording a presentation might discover that the first few seconds contain unnecessary movement before the speaker begins. Trimming the opening creates a cleaner clip that is ready to share. The same approach works for personal recordings, short demonstrations, and everyday videos.
Google Photos is not intended for complex productions involving multiple layers, detailed transitions, or elaborate sound design. It is better viewed as a convenient tool for small improvements rather than a replacement for a full timeline editor.
A good choice if: You want to make basic changes quickly and do not need advanced editing features.
10. GoPro Quik: Best for Highlight Videos and Action Footage
GoPro Quik is worth considering for people who want to turn a collection of recordings into a compact highlight video. It is associated with action footage and GoPro cameras, although its usefulness depends on the features currently available for your device and account.
Highlight-based editing can be helpful when you have lots of footage but only want to share the most memorable moments. A cycling trip, family outing, sporting activity, or weekend adventure might contain dozens of recordings. Rather than arranging every clip manually, you can explore the app’s available tools for selecting highlights and creating a more compact presentation.
The result can be useful for people who prefer spending more time recording experiences than editing them. Once the main sequence is ready, you can review the pacing, remove any unnecessary scenes, and make sure the selected moments accurately represent the event.
Quik may not provide the same level of manual control as a dedicated multitrack editor, and some features may depend on the device, account, or subscription. Check the current Android offering before deciding whether it fits your workflow.
A good choice if: You want to organize action footage or personal recordings into short highlight videos with less manual effort.
A Simple Comparison of the Ten Apps
| Video editor | Most suitable purpose | Main reason to consider it |
|---|---|---|
| VN Video Editor | General video editing | Room to develop editing skills |
| YouCut | Everyday recordings | Straightforward workflow |
| CapCut | Short-form social media | Creative effects and captions |
| InShot | Quick mobile content | Simple controls and resizing |
| Canva | Educational and promotional videos | Templates and visual design |
| KineMaster | Detailed compositions | Layer-based editing |
| PowerDirector | Creative projects | Broad editing controls |
| Filmora | Styled montages | Presets and visual effects |
| Google Photos | Basic adjustments | Convenient editing of existing clips |
| GoPro Quik | Highlight videos | Action-footage workflow |
Keep in mind that free plans can differ in meaningful ways. Some applications offer paid subscriptions alongside free tools, while others may restrict certain effects or export options. Availability can also vary between countries and app versions.
How to Pick an App That Fits Your Needs
Before downloading anything, decide what your first video will look like. A short clip made from three recordings requires very different tools from a tutorial containing screen recordings, voice-over, and explanatory text. Choosing an app based on a real project makes it easier to avoid features you will never use.
Think about the amount of control you want. If you enjoy arranging scenes and adjusting details, a timeline-based editor is likely to be more satisfying. If you prefer quick results, an app with a simple workflow or ready-made layouts may suit you better. Neither approach is inherently superior; the right choice is the one that helps you finish your projects comfortably.
It is also worth checking whether the app meets your export requirements. If you intend to publish widescreen YouTube videos, you may need different framing options from someone creating vertical clips. Check the available resolutions, file-saving options, and watermark policy before investing time in a large project.
Finally, consider how well the editor runs on your phone. Editing large files can consume storage and memory, and complex effects may slow down older devices. Try a short recording first, then decide whether the app feels responsive enough for longer projects.
Five Editing Habits That Improve Your Results
Remove unnecessary footage
A recording does not need to remain in the final video simply because you spent time capturing it. Remove repeated moments, long pauses, and sections that do not help viewers understand the subject. This makes the finished video easier to watch and helps important moments stand out.
Keep the sound comfortable
Background music should support the video rather than compete with speech. If you are explaining something, make sure your voice remains clear throughout the recording. When using music or other material created by someone else, check that you have the necessary permission for your intended use.
Make text easy to read
Titles and captions should help viewers understand what they are seeing. Use clear fonts, sensible contrast, and short phrases rather than filling every scene with text. If you use automatic subtitles, review them carefully because names and unfamiliar words can be recognized incorrectly.
Match the format to the destination
A video intended for a vertical social feed may need different framing from a widescreen tutorial. Check the aspect ratio before you begin editing so that important subjects are not accidentally cropped out. Keep essential text away from areas where platform controls might cover it.
Review the complete video before saving
Watch the finished project from beginning to end. Look for missing audio, sudden changes in volume, awkward cuts, spelling errors, and scenes that appear in the wrong order. A few minutes spent reviewing the export can prevent mistakes from reaching your audience.
Are Free Android Video Editors Enough for Beginners?
For many people, free editing tools are more than sufficient. You can create personal videos, short tutorials, social media posts, and basic promotional content without purchasing professional software. What matters most at the beginning is learning how to organize footage and communicate an idea clearly.
Paid plans become relevant when you need a particular feature that your current app does not provide. That might be a specialized effect, a premium asset, or an export option required for a specific project. Until you encounter such a limitation, there is little reason to pay simply because an application advertises a larger collection of tools.
The best way to evaluate an editor is to complete a small project using its free features. If you can import footage, make the necessary changes, save a satisfactory result, and repeat the process without difficulty, you already have a useful tool for learning.
Frequently Asked Questions
Which video editing app should a complete beginner try first?
VN Video Editor is a good starting point for people who want to learn timeline editing. YouCut is suitable for simple projects, while CapCut is worth considering if you mainly create short-form social media videos.
Can I make YouTube videos using a free Android app?
Yes. You can record and edit YouTube videos on an Android phone using apps such as VN Video Editor, CapCut, YouCut, or PowerDirector. Your choice will depend on video length, editing complexity, and the export options available in the free version.
Which app is best for editing videos without a watermark?
VN Video Editor and YouCut are commonly considered for watermark-free editing. However, policies and features can change, so verify the current export conditions before publishing a finished video.
Do I need an internet connection to edit videos?
Many basic editing functions work with files stored on your phone, but some applications require an internet connection for downloading assets, using online templates, accessing cloud services, or processing certain AI features. Requirements vary by app.
Why does my phone become slow while editing?
Video editing can place considerable demands on your phone’s processor, memory, and available storage. Large recordings and multiple effects may increase the workload. Closing unused applications and working with shorter clips can help, although the available improvement depends on your device.
Is a watermark the same as a copyright problem?
No. A watermark is a visible mark added to a video, often to identify the editing application or creator. Copyright concerns relate to ownership and permission to use material such as music, footage, or images. Removing a watermark does not automatically give you permission to use copyrighted content.
Conclusion: Choose One Editor and Start Creating
The best free video editing app for Android beginners is not necessarily the one with the longest feature list. It is the one that makes it possible for you to finish a video, understand your mistakes, and improve your next project.
VN Video Editor is a versatile option for learning more detailed editing, YouCut is convenient for everyday projects, and CapCut provides creative tools for short-form content. InShot, Canva, KineMaster, PowerDirector, Filmora, Google Photos, and GoPro Quik offer alternatives for different editing styles and levels of complexity.
Start with a short project using footage you already have. Arrange the best scenes, remove unnecessary material, balance the audio, and save a version you are happy with. Once those steps become familiar, you can explore more advanced features without feeling overwhelmed.
You do not need to master every tool before creating something worthwhile. Consistent practice, thoughtful editing, and a clear idea of what you want viewers to experience will take you much further than simply downloading the most feature-packed application.
